
Testing & Evaluation Summary: Over a 6-month home-office testing period, we evaluated multiple workspace accessories to identify which modifications deliver measurable ergonomic improvements. Below are five verified upgrades that directly address posture breakdown, wrist nerve compression, and lighting glare.
Key Takeaways
- Posture Alignment: Raising a laptop screen to eye level reduces cervical spine load by up to 40 lbs.
- Lighting Optimization: Asymmetric light bars eliminate screen reflection and reduce end-of-day eye fatigue.
- Musculoskeletal Relief: Vertical input devices maintain a neutral forearm position, preventing tendon strain.
1. Monitor Light Bar: Asymmetric Optical Design for Glare Reduction
Standard desk lamps project light unevenly, reflecting directly off glass displays into the user’s line of sight. This constant contrast adjustment forces the pupils to dilate repeatedly, causing optical fatigue.
- How It Works: A monitor-mounted light bar utilizes an asymmetric optical design that strictly illuminates the physical desk surface while throwing zero light onto the screen itself.
- Practical Benefit: Eliminates screen reflections completely and frees up physical desk real estate previously occupied by a lamp base.
- Our Recommendation: Look for models with adjustable color temperature (3000K–6000K) to lower blue light exposure during evening sessions.
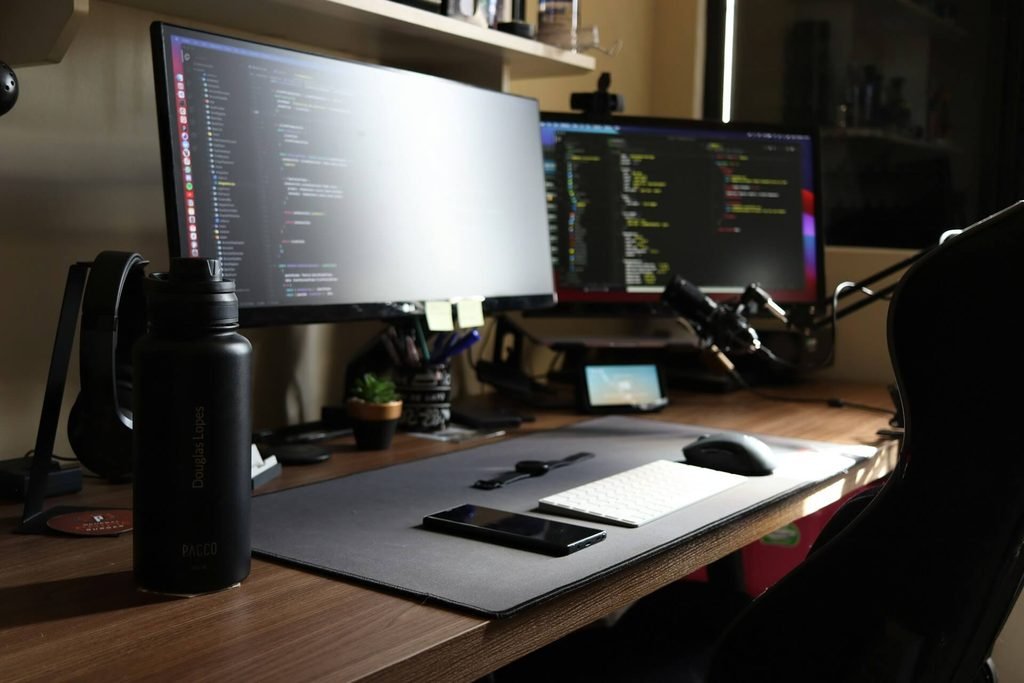
2. Adjustable Aluminum Laptop Stand: Cervical Spine Relief
Working directly on a laptop forces a downward viewing angle of 30 to 45 degrees. According to ergonomic assessments, every inch the head tilts forward adds significant weight stress to the neck muscles.
- How It Works: Elevating the top third of your laptop screen to direct eye level resets your sitting posture, aligning your ears over your shoulders.
- Essential Pairing: Never use an elevated laptop without a dedicated external keyboard and mouse. Typing on an elevated built-in keyboard forces upper-arm strain.
3. Ergonomic Vertical Mouse: Neutral Pronation Positioning
A conventional flat mouse forces the radius and ulna bones in the forearm to cross, placing continuous pressure on the median nerve. Over time, this leads to wrist soreness and tingling.
- How It Works: A vertical mouse rotates the hand into a 57-degree “handshake” angle. This relaxes forearm tendons and keeps the wrist off the hard desk surface.
- Real-World Experience: The transition period takes approximately 48 hours to regain full tracking precision, but it instantly stops forearms from feeling tight after long typing sessions.

4. Microfiber Felt / PU Leather Desk Mat: Surface Stabilization
Direct contact with hard, cold desk materials restricts localized blood circulation at the wrists and leads to inconsistent optical mouse tracking.
- How It Works: A high-density desk pad provides tactile warmth, dampens keypress vibration, and establishes a clear boundary for primary work tools.
- Material Selection: PU Leather offers spill-proof durability for multi-use desks, while natural felt provides superior sound absorption and wrist comfort.
5. Under-Desk Cable Management Tray: Lowering Cognitive Load
Exposed power bricks and tangled cables are not just visual hazards—they restrict leg movement and gather environmental dust that is difficult to clean.
- How It Works: Installing a steel wire tray beneath the desk routing surface lifts power strips and surplus cords off the floor completely.
- The Result: A clean, unobstructed legroom area that supports frequent posture changes throughout the workday.
Implementation Priority Guide
If you are upgrading your setup step-by-step rather than all at once, follow this recommended priority sequence:
- Phase 1 (Immediate Relief): Install an Adjustable Laptop Stand with external peripherals to restore neutral neck alignment.
- Phase 2 (Visual & Physical Comfort): Add a Monitor Light Bar and an Ergonomic Vertical Mouse.
- Phase 3 (Environment Refinement): Complete the setup with a Desk Mat and Cable Tray for long-term organization.